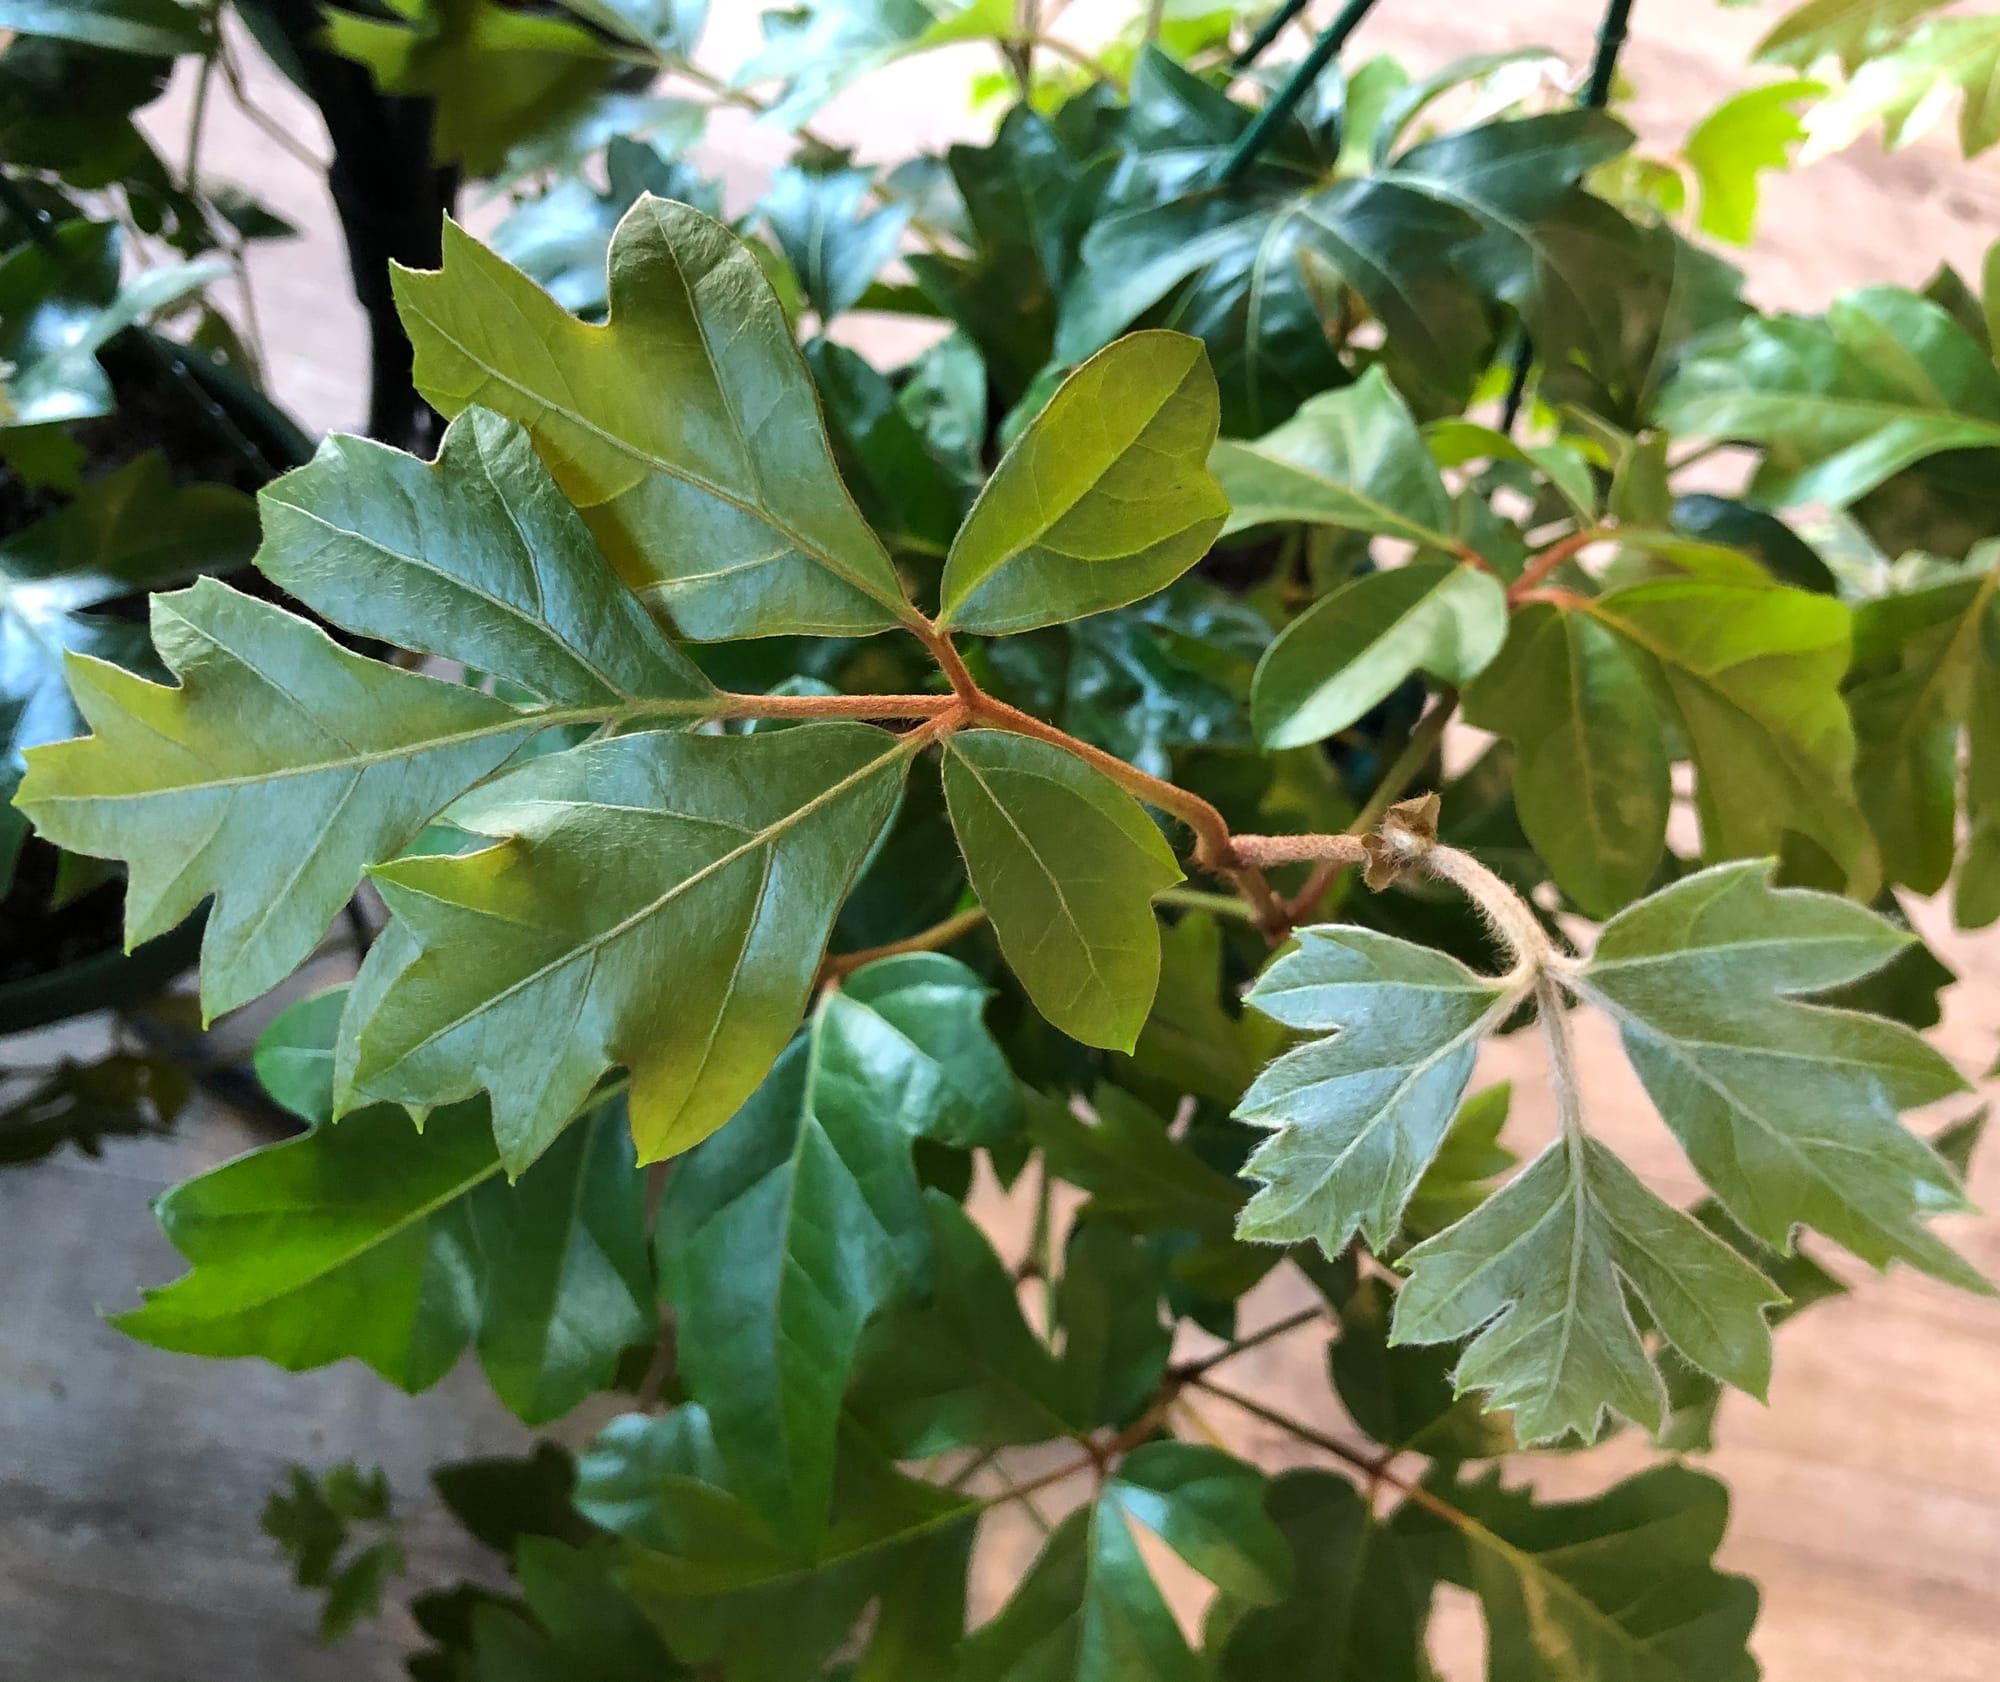
Cissus alata - Grape Ivy (Formally known as Cissus rhombifolia)
Contents
- Top Tips
- Location, Water, Humidity & Fertilisation
- Common Issues
- Origins, Temperature, Propagation, Repotting & Toxicity.
Need the answer to a specific plant query? Book a 1-to-1 video call with THE HOUSEPLANT DOCTOR™, the website's friendly author, to overcome and address your niggling problem! Available on iMessage, WhatsApp, Facebook Messenger & more.
Top Tips & Info
- Care Difficulty - Moderate
- Cissus are best kept in a windowsill that offers up to two hours of direct sunlight a day. Good windows are those that point north, north-east and north-west. Ensure the plant doesn't sit within the glare of an operating radiator.
- Provide moist soil, allowing the soil's top third to dry out in between waters. Avoid total dehydration at all costs due to the plant's intolerance to drought.
- Fertilise using a 'Houseplant' labelled feed every four waters throughout the year.
- Repot every two years during the spring, using a 'Houseplant' labelled potting mix and the next sized pot with drainage holes.
- Keep an eye out for Spider Mites that'll form webs in the plant's cubbyholes and leaves.
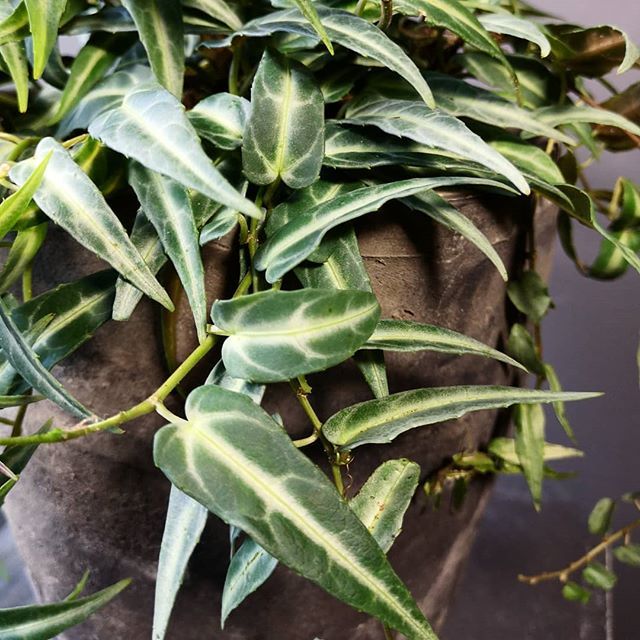 Amazon Jungle Vine - Cissus amazonica
Location & Light - 🔸🔸
Grape Ivy prefers a bright location like a north-facing windowsill, without the risk of being in the direct sunlight for more than two hours a day. They can, however, tolerate darker areas of the house as long as it's within 2m of a window. Remember - the brighter the location, the more frequently you'll want to water the plant to 'fuel' photosynthesis.
If you're worried about the sun being too intense for the plant (both in terms of temperature and intensity), metaphorically think of a chocolate bar being in the plant's location. If it's enough to melt the chocolate, it'll also be too intense of the plant.
Water - 🔸🔸
Maintain evenly moist soil, allowing the compost's top third to dry out in between waters. It's important not to promote what's known as 'irrigation abuse', whereby the specimen is subjected to periods of droughts, followed by floods of hydrations. Not only will this promote unreliable foliar growth, but the risk of terminally damaged tissue below the soil line could also cause incompetent, functionless roots. Under-watering symptoms include a shrivelled stem, yellowing leaves, stunted inflorescences, little to no growth and dry, crispy patches forming on the leaf edges. These issues are typically caused by too much light/heat or forgetfulness. Remember, the brighter the location, the more watering you'll need to do. Over-watering symptoms include a weakened or rotten stem, no new growth, yellowing lower leaves and eventual plant death. Click here to learn more about root rot and how to address it!
Humidity - 🔸🔸🔸
Create a humidity tray to provide a moist and stable environment for your plant. If the surrounding saturation is too low or the heat too high, its leaf-tips may start to brown over and curl, especially in direct sunlight. Gently hose the foliage down from time to time to hydrate the leaves and keep the dust levels down. If your specimen is hooked, mist the foliage once a week to counteract dry air while the heaters are operating, or locate it in a bathroom with good lighting.
Fertilisation - 🔸🔸
Feed every forth water throughout the year using a 'Houseplant' labelled fertiliser. Never apply a 'Ready to Use’ product into the soil without a pre-water first, as it may burn the roots and lead to yellowed leaves.
If the foliage is showing signs of dullness or leaf-spots, be sure to increase fertilisations to give the plant a 'pick-me-up' with additional energy.
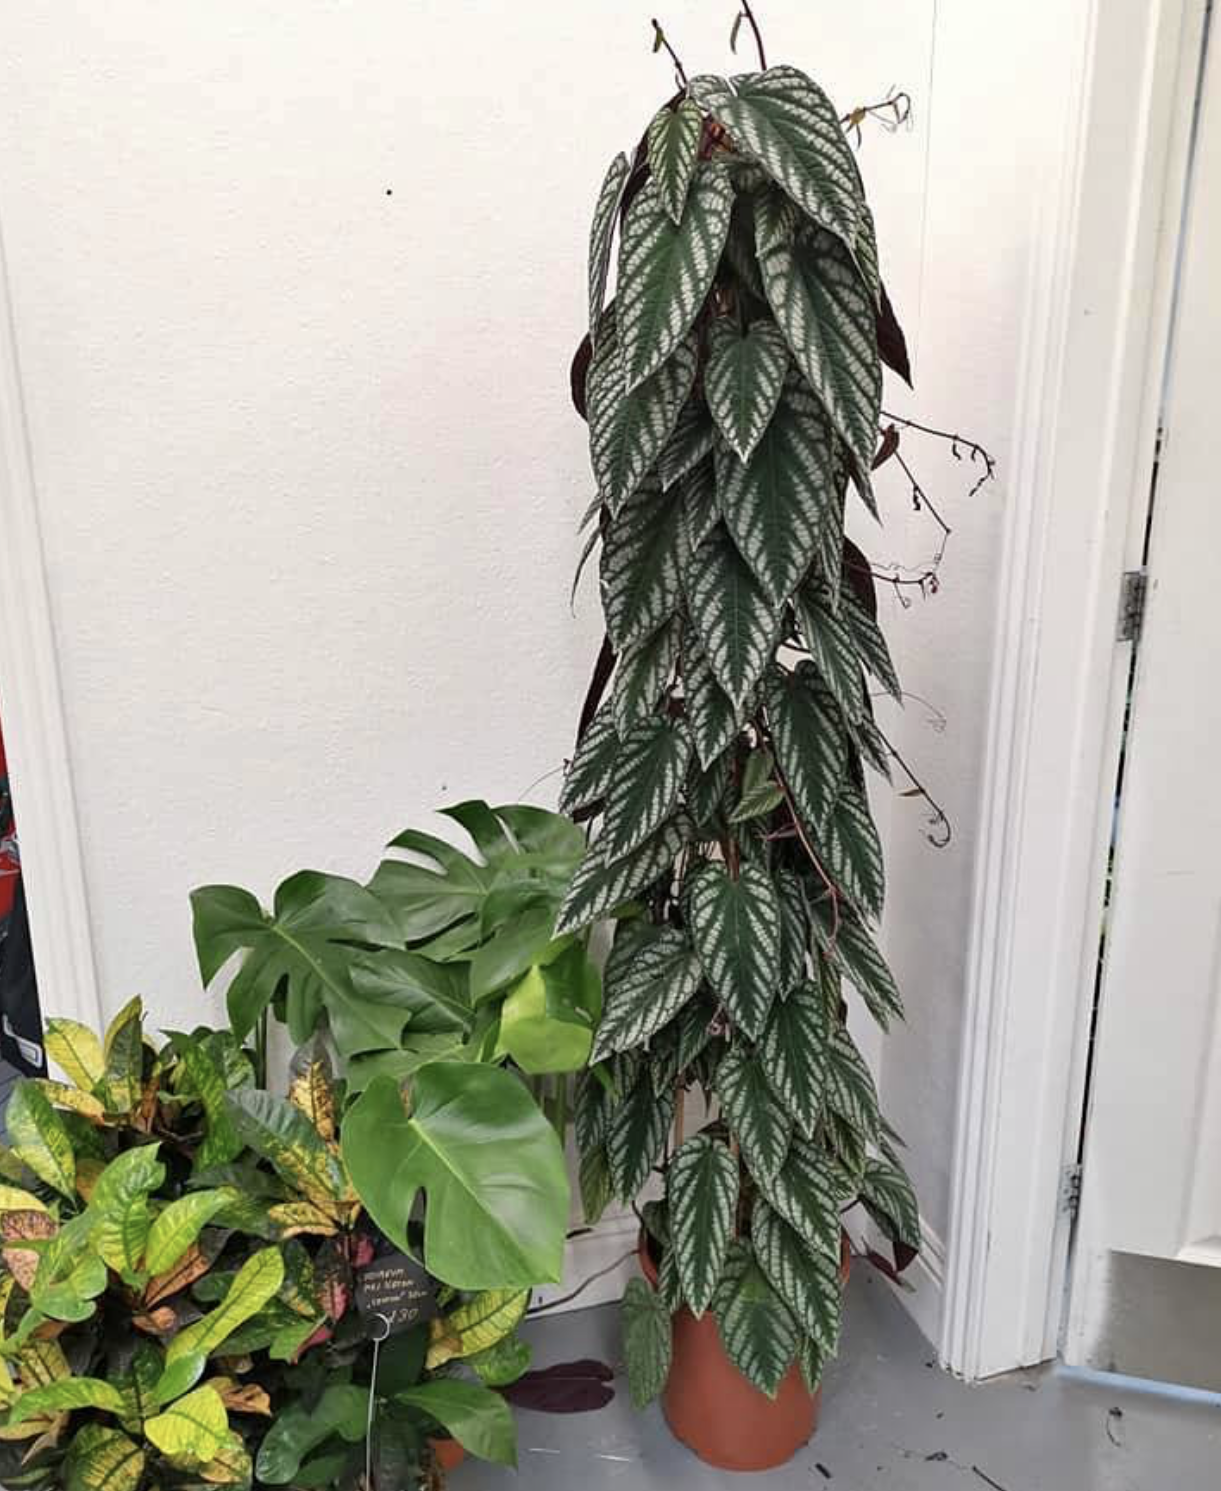 Climbing Begonia Rex - Cissus discolor
Common Issues with Cissus
Lower leaf-loss is a common and significant issue among gardeners. This unfortunate phenomenon could be a product of several different problems, most notably being dark locations, water-related abuse or environmental shock. Introduce the plant to a more well-lit area with a splash of off-peak sunlight; if caught in time, the leaf-loss should stop within a few weeks. If you feel that you're watering habits aren't up to scratch, familiarise yourself with our care tips provided at the top of this article. It's always best to under-water an indoor Cissus than over-do it, purely on its poor ability to endure continued sogginess. The final culprit could be down to a sudden relocation; if you've recently purchased the specimen within the last six weeks, the chances are it is still acclimatising to the new environment. Although this shouldn't happen, a vastly different setting will cause sudden foliage-loss and stunted growth. You'll have two options of either waiting it out or presenting a more Cissus-friendly environment, mentioned in the 'Location & Light' section. We would fertilise the plant the next time it needs a water, using a 'Houseplant' labelled feed. If the leaf-loss persists, take stem cuttings of at least three nodes to ensure the specimen's existence continues. Scroll down to 'Propagation' for more information on this.
Yellowing lower leaves could be a sign of over-watering, but equally is a byproduct of maturity. If the older leaves rapidly become yellow in quick succession, over-watering could be to blame. People don't realise that a plant's root system needs access to oxygen too; when soil is watered, the air will travel upwards and out of the potting mix. A lack of accessible oxygen for the roots will cause them to subsequently breakdown over the oncoming days. Click on this link to learn more about root rot and how to address it.
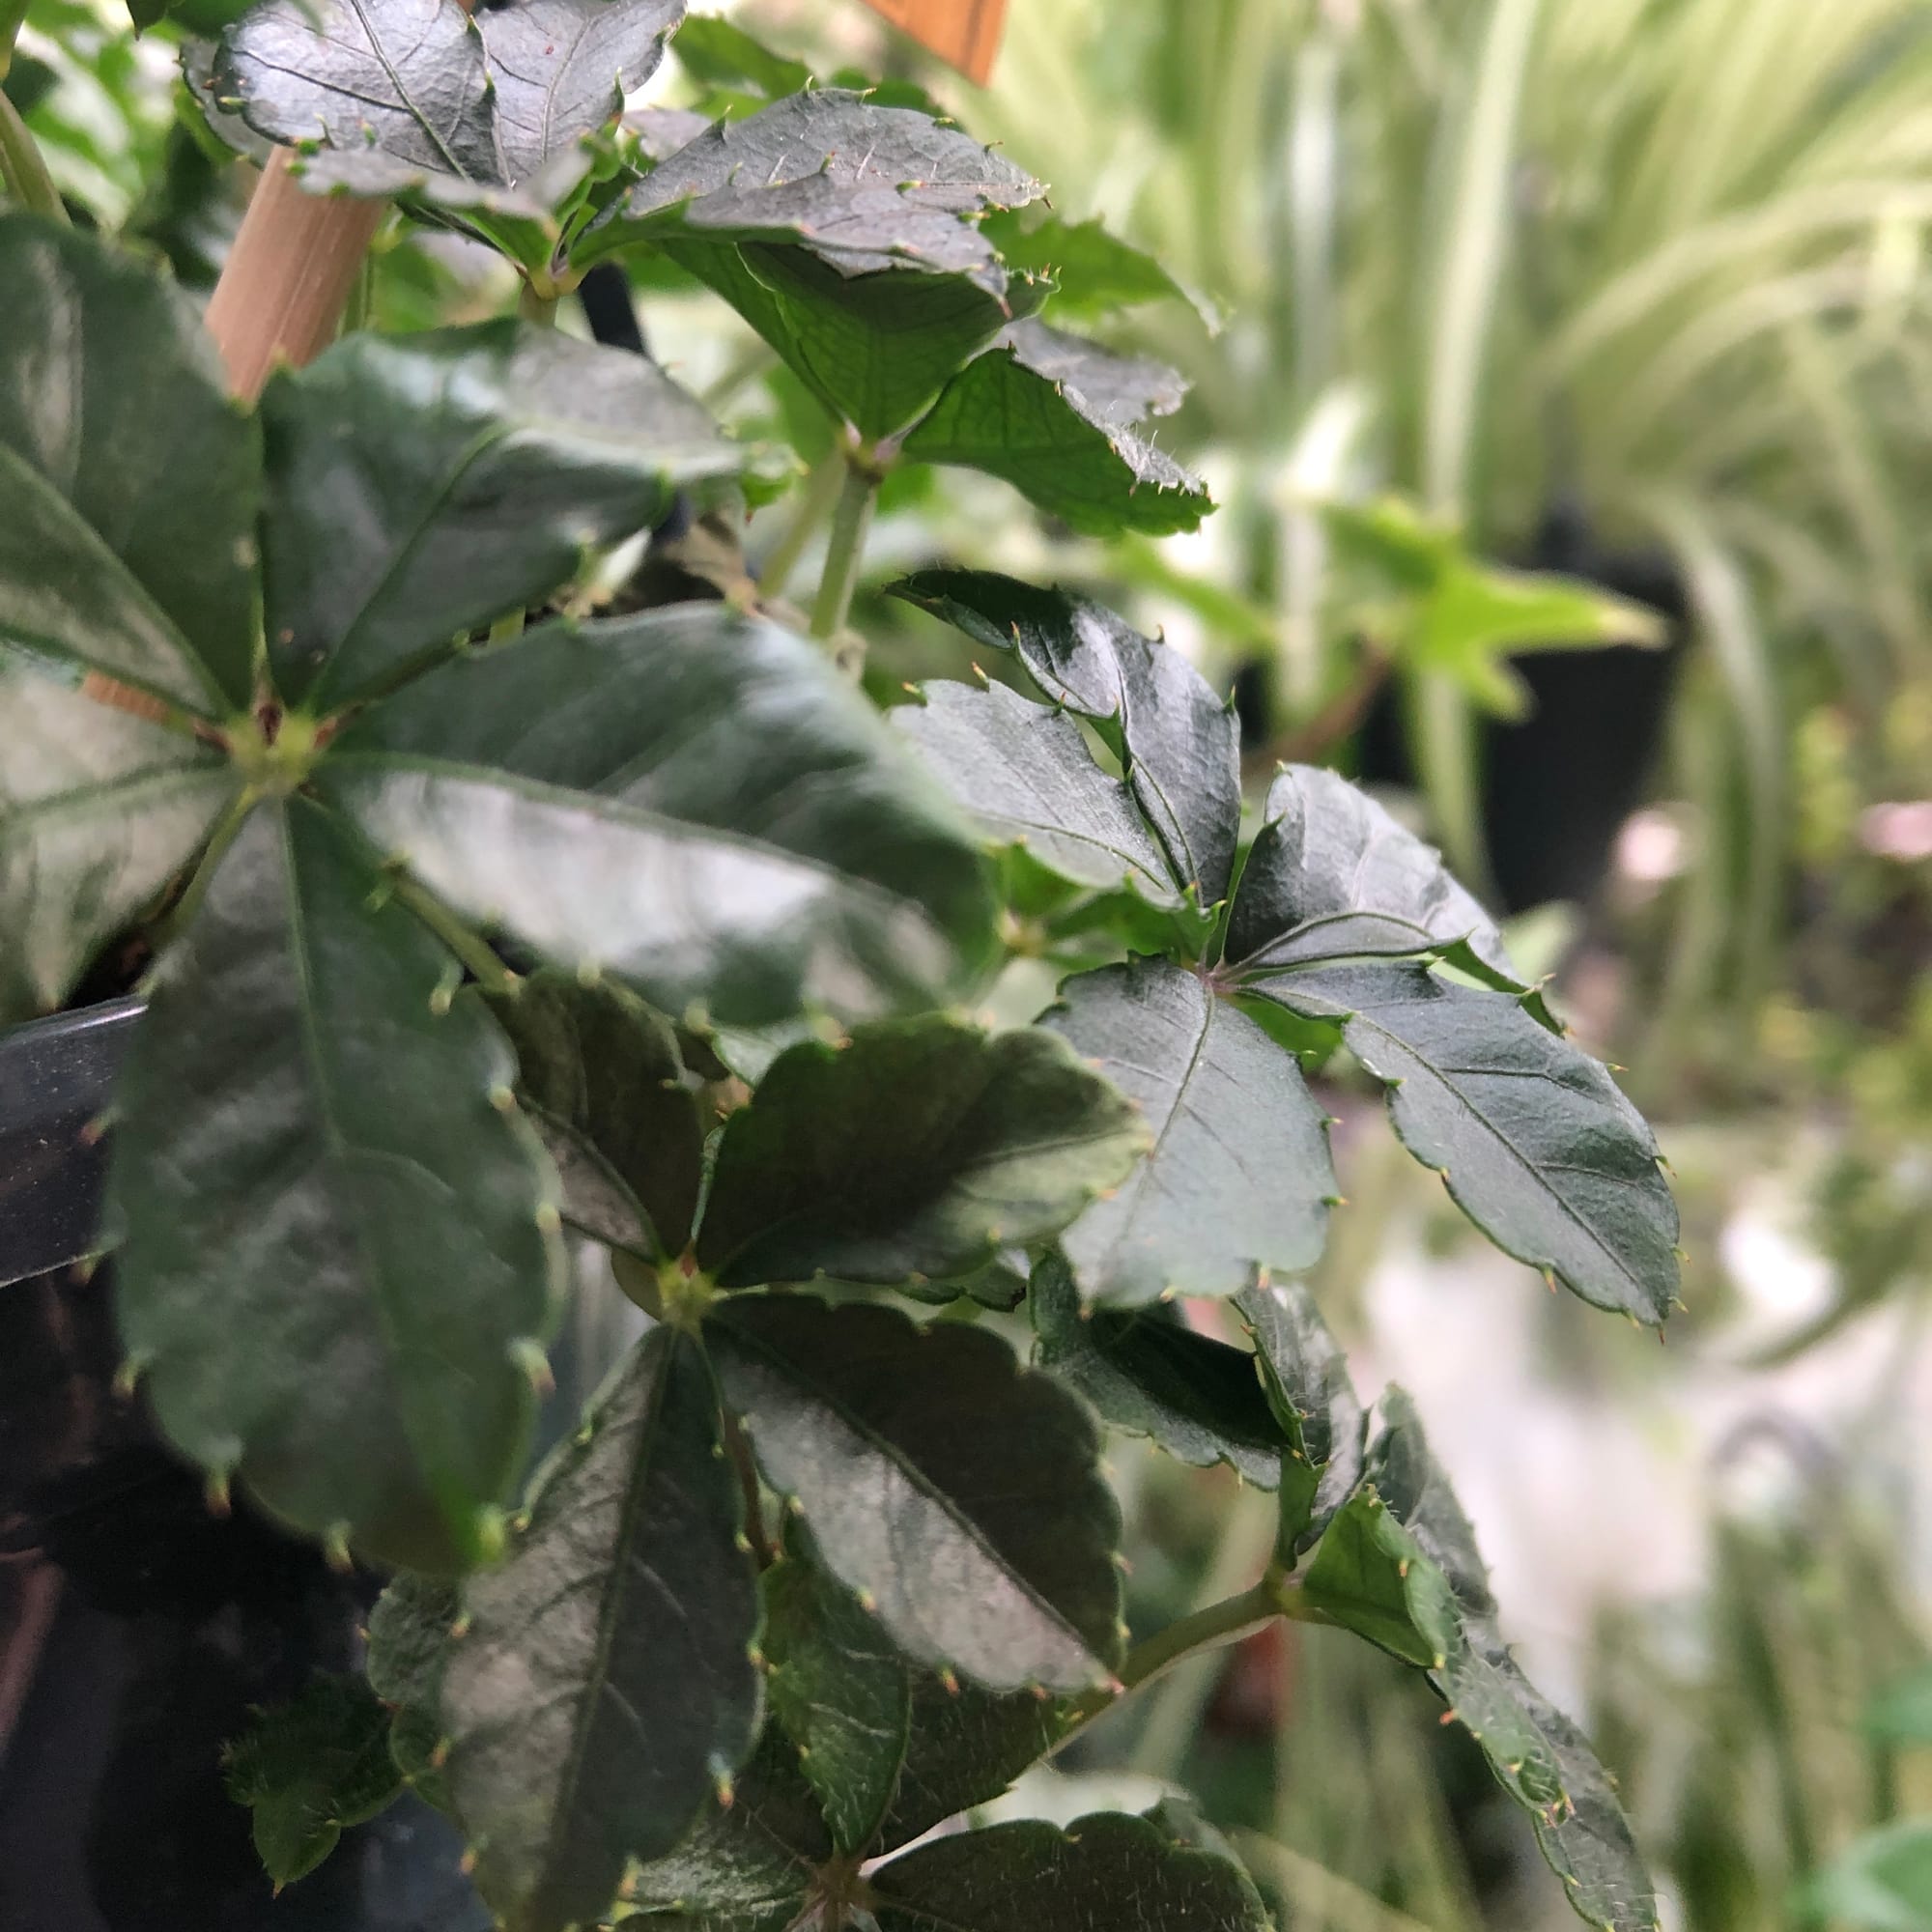 Cissus striata is the smallest variety in the Grape Vine family, but is also most susceptible to dehydration. Create a pebble tray to promote a more humid environment around the plant that'll slow the rate of drying soil.
If your specimen is located in a dark environment with mould developing on the compost's top layer, use a chopstick to stab the soil in various areas gently. You should aim to enter the compost between the base of the plant and the pot's edge, as failure to do so may lead to damaging its lower portion. Leave the holes open for a few days before re-surfacing the soil to avoid it becoming overly dry. Not only will the gentle shift in the soil's structure mimic the work of small invertebrates in the wild (worms, etc.), but it'll also add oxygen back into the soil, thus reducing the risk of root rot. Repeat this monthly, or whenever you feel the potting-mix isn't drying out quickly enough.
Curled leaves and brown leaf-edges are the result of too little water and over-exposure to the sun. Cissus are best located in bright, indirect settings, and those that haven't acclimatised to the harsh rays will show signs of sun-scorch and environmental shock. A splash of winter sunlight is acceptable as long as the soil moisture is regularly observed, with complete avoidance once summer comes along.
Never situate it within four metres of an operating heat source, for instance, a heater or fireplace. Due to the heightened temperature, the plant will soak up far more moisture than those situated in cooler locations, increasing the chance of droughts and browning leaf-edges.
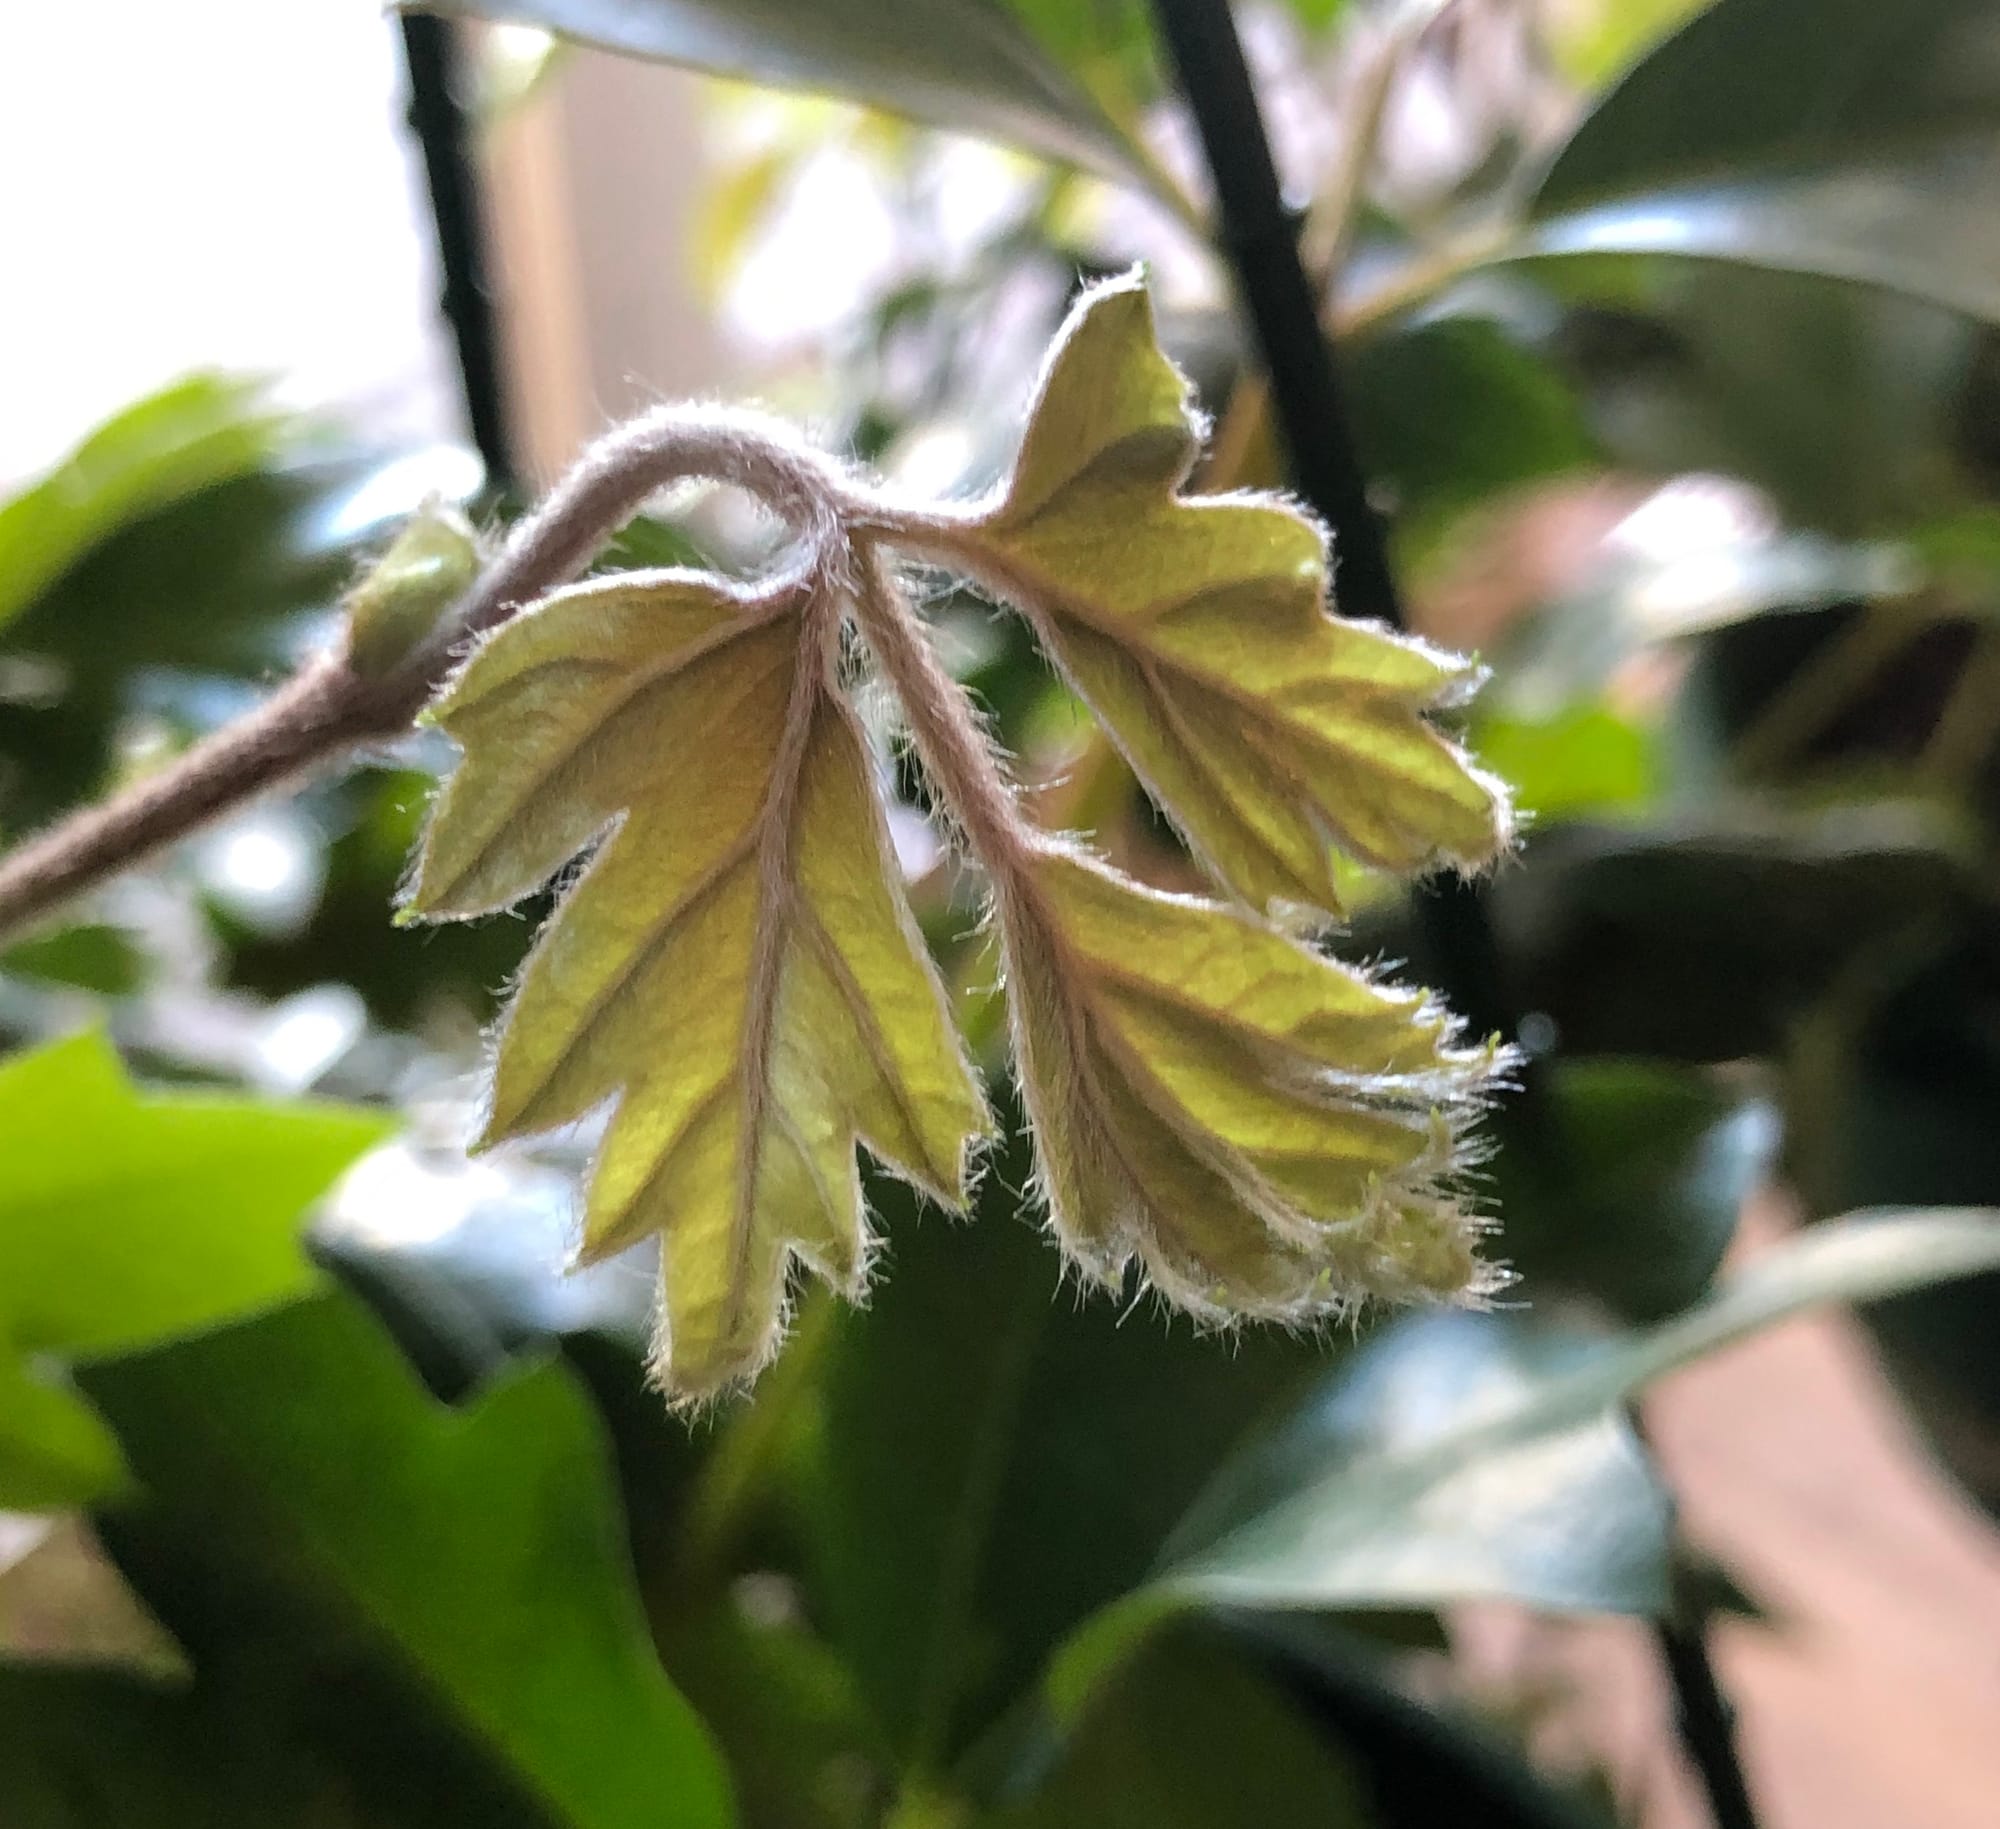 Although this juvenile growth is developing superbly, if your specimen is showing signs of stunted growth, it could be a case of under-watering.
Origins
Cissus is diverse and complex; however, the three main houseplants within this family are relatively straightforward to look after. The genus was first described back in 1753 by Carl Linnaeus, using the Greek word for 'ivy', kissos. Cissus falls under the family of Vitaceæ, closely related to the popular genus of Parthenocissus (Boston Ivy).
The species, Cissus alata, was first penned by Nicolaus Joseph von Jacquin ten years later, using the Latin word for 'wings', ālāta. Although the reason for this name is unknown, many believe it to be in reference to the wing-like juvenile growth, pictured above. The species' synonym, C. rhombifolia, can be translated to the Greek word, rhombus, meaning 'a parallelogram with equal sides' that refers to the rhombus-like palmatous foliage.
Carl Linnaeus first described Cissus amazonica in 1753, placing it in the newly-constructed genus of Cissus. The specific epithet, amazonica, refers to the species' natural habitat.
Finally, Cissus discolor was described by Carl Blume in the early 19th century, describing its dark-toned foliage. The synonym, 'Cissus javana', has no documentation over the reason of its name.
For the interest of this section, Parthenocissus was first documented by Jules Planchon in 1887, using the Latin words for 'virgin' and 'kissos' to describe the ability to self-seed without sexual pollination.
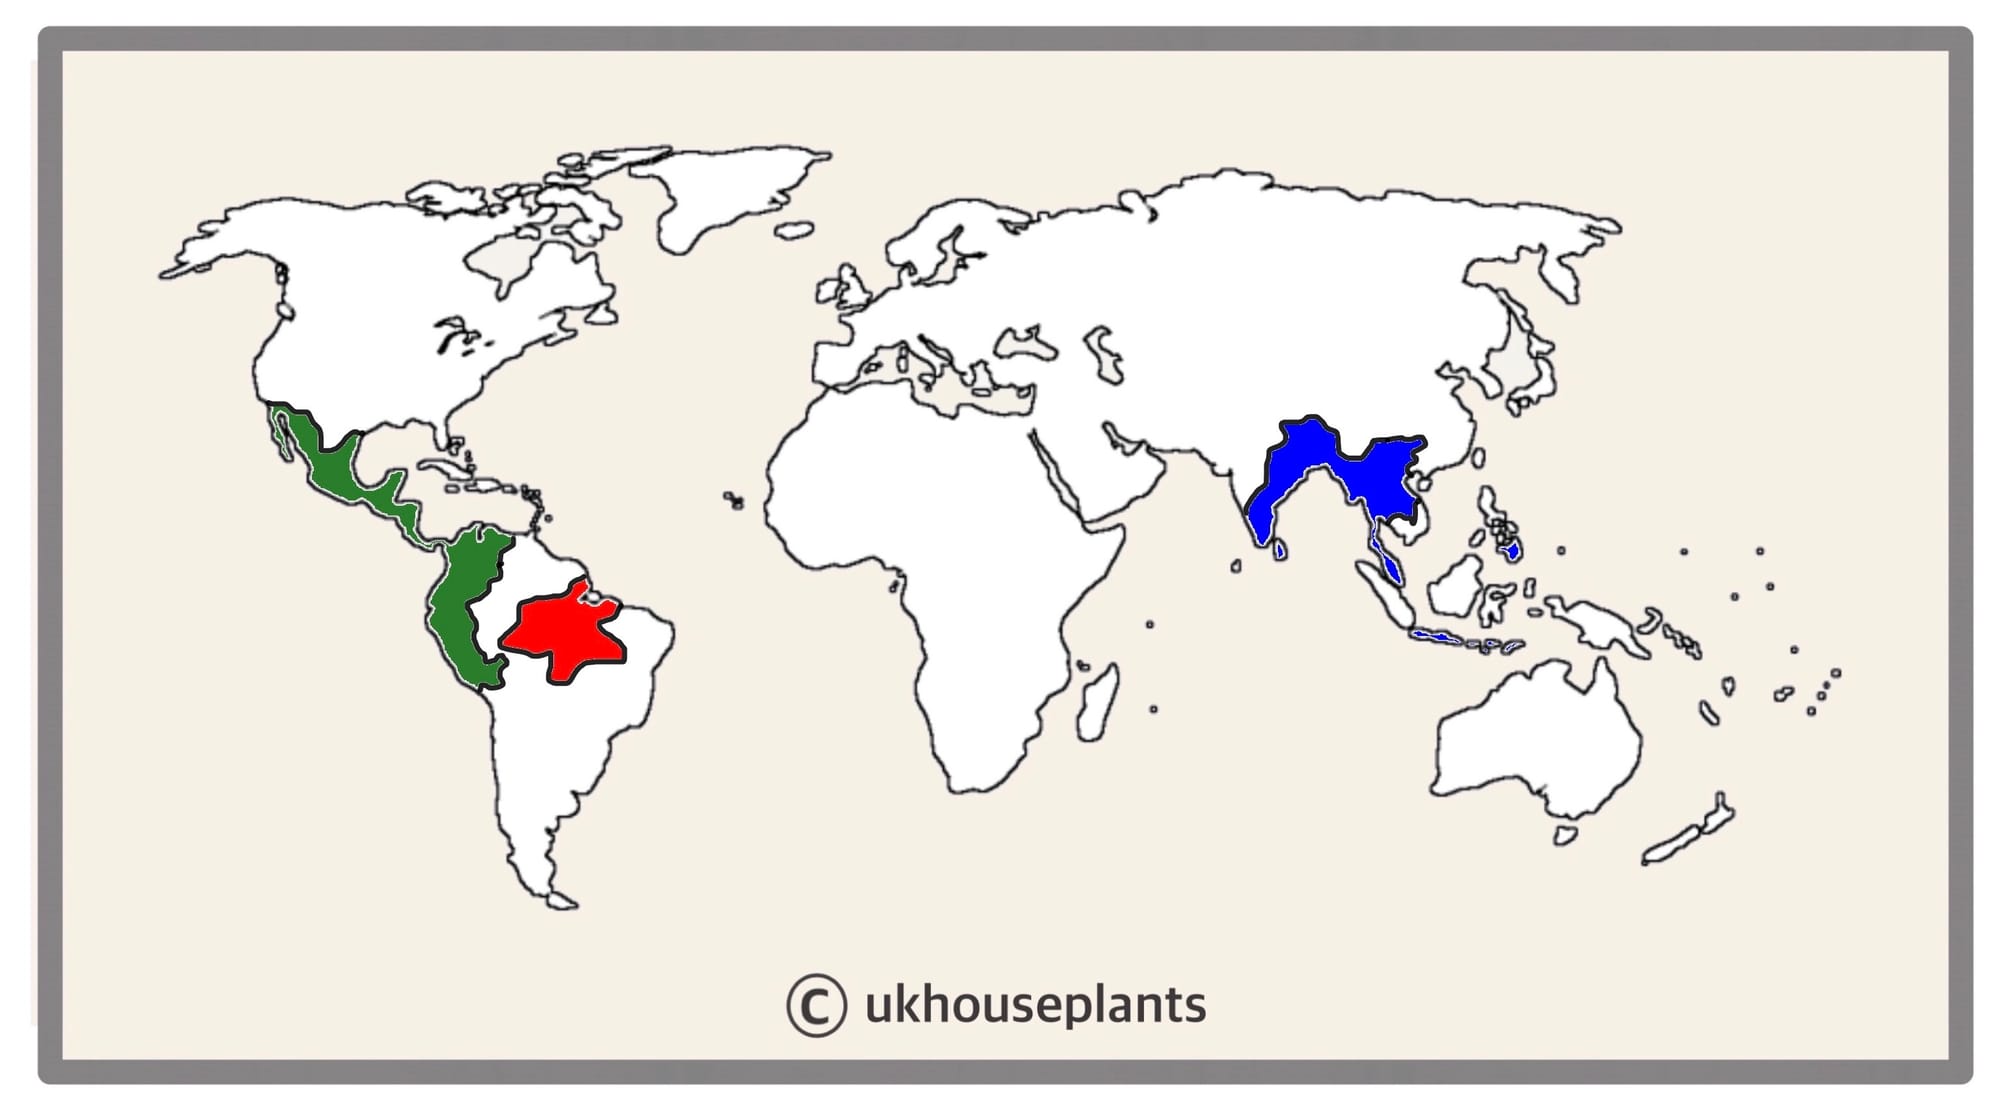 The Distribution of Cissus alata in Green (formally known as Cissus rhombifolia), Cissus amazonica in Red & Cissus discolor (Cissus javana) in Blue.
Temperature
14° - 27℃ (57° - 80℉)
H1b (Hardiness Zone 12) - Can be grown outdoors during the spring and summer in a sheltered location whilst nighttime temperatures are above 12℃ (54℉), but is fine to remain indoors, too. If you decide to bring this plant outdoors, don't allow it to endure more than an hour of direct sunlight a day as it may result in sun-scorch. Regularly keep an eye out for pests, especially when re-introducing it back indoors.
Spread
The overall size can be up to 1m (3ft) in height and 0.5m (2ft) in width. The ultimate size will take between 2 - 5 years to achieve when repotted biannually, with several new leaves unfurling per annum.
Pruning & Maintenance
Remove yellow or dying leaves, and plant debris to encourage better-growing conditions. While pruning, always use clean scissors or shears to reduce the chance of bacterial and fungal diseases. Never cut through yellowed tissue as this may cause further damage in the likes of diseases or bacterial infections. Remember to make clean incisions as too-damaged wounds may shock the plant, causing weakened growth and a decline in health.
Propagation
Via Seed or Stem & Eye Cuttings.
Stem & Eye Cuttings (Moderate) - This method of propagation is troublesome without the aid of bottom-heat and a controlled environment. Choose the healthiest, most established stems that are slightly hardened, yet still juvenile enough to bend slightly. Each cutting should only have two nodes with a leaf on the younger node - the older is for root development that'll be submerged in the soil. Cut directly below a node using a clean pair of scissors to reduce bacteria count. Situate the lower node into moist 'Houseplant' labelled compost, with the only the leaf sticking out of the soil. Blackleg can occur when the base becomes infected, typically caused by water-logging or a too-damaged wound. Maintain bright light and evenly moist soil with the avoidance of direct sunlight or cold draughts. Wrap the pot (& foliage) in a transparent bag or within a miniature greenhouse, and provide bottom heat of temperatures above 18°C (54°F). Remove the bag and place into individual 7cm pots once the second new leaf emerges. Follow the same care routines, as mentioned in the article's top half. This method will take up to five months, so patience and the correct environment are paramount for success!
Flowers
Some forms of Cissus are very rarely able to flower in a domestic setting, due to the unfavourable growing conditions. Cissus alata (Cissus rhombifolia) may develop a few flowers in the height of summer once maturity is reached, usually taking up to five years. The flowers are arranged in panicles that'll last several days once opened, with the overall show spanning a few weeks.
Repotting
Repot every two or three years in spring using a 'Houseplant' labelled potting mix and the next sized pot with adequate drainage. Cissus are far better potbound for several years due to the heightened risk of root rot and repotting-issues (like transplant shock) - so only repot if you feel it's wholly necessary.
Hydrate the plant 24hrs before tinkering with the roots to prevent the risk of transplant shock. For those situated in a darker location, introduce extra amounts of perlite and grit into the lower portion of the new soil to downplay over-watering risks. Click here for a detailed step-by-step guide on transplantation, or via this link to learn about repotting with root rot.
Book a 1-to-1 video call with Joe Bagley if you'd like a personal guide to repotting your houseplant. This will include recommending the right branded-compost and pot size, followed by a live video call whilst you transplant the specimen for step-by-step guidance and answer any further questions!
Pests & Diseases
Keep an eye out for mealybugs, aphids & greenfly, spider mites, scale, thrips & whitefly. Common diseases associated with this species are root rot, red leaf-spot, heart rot, botrytis & southern blight - click here to learn more about these issues.
Toxicity
Not known to be poisonous when consumed by pets and humans. If large quantities are eaten, it may result in vomiting, nausea and a loss of appetite.
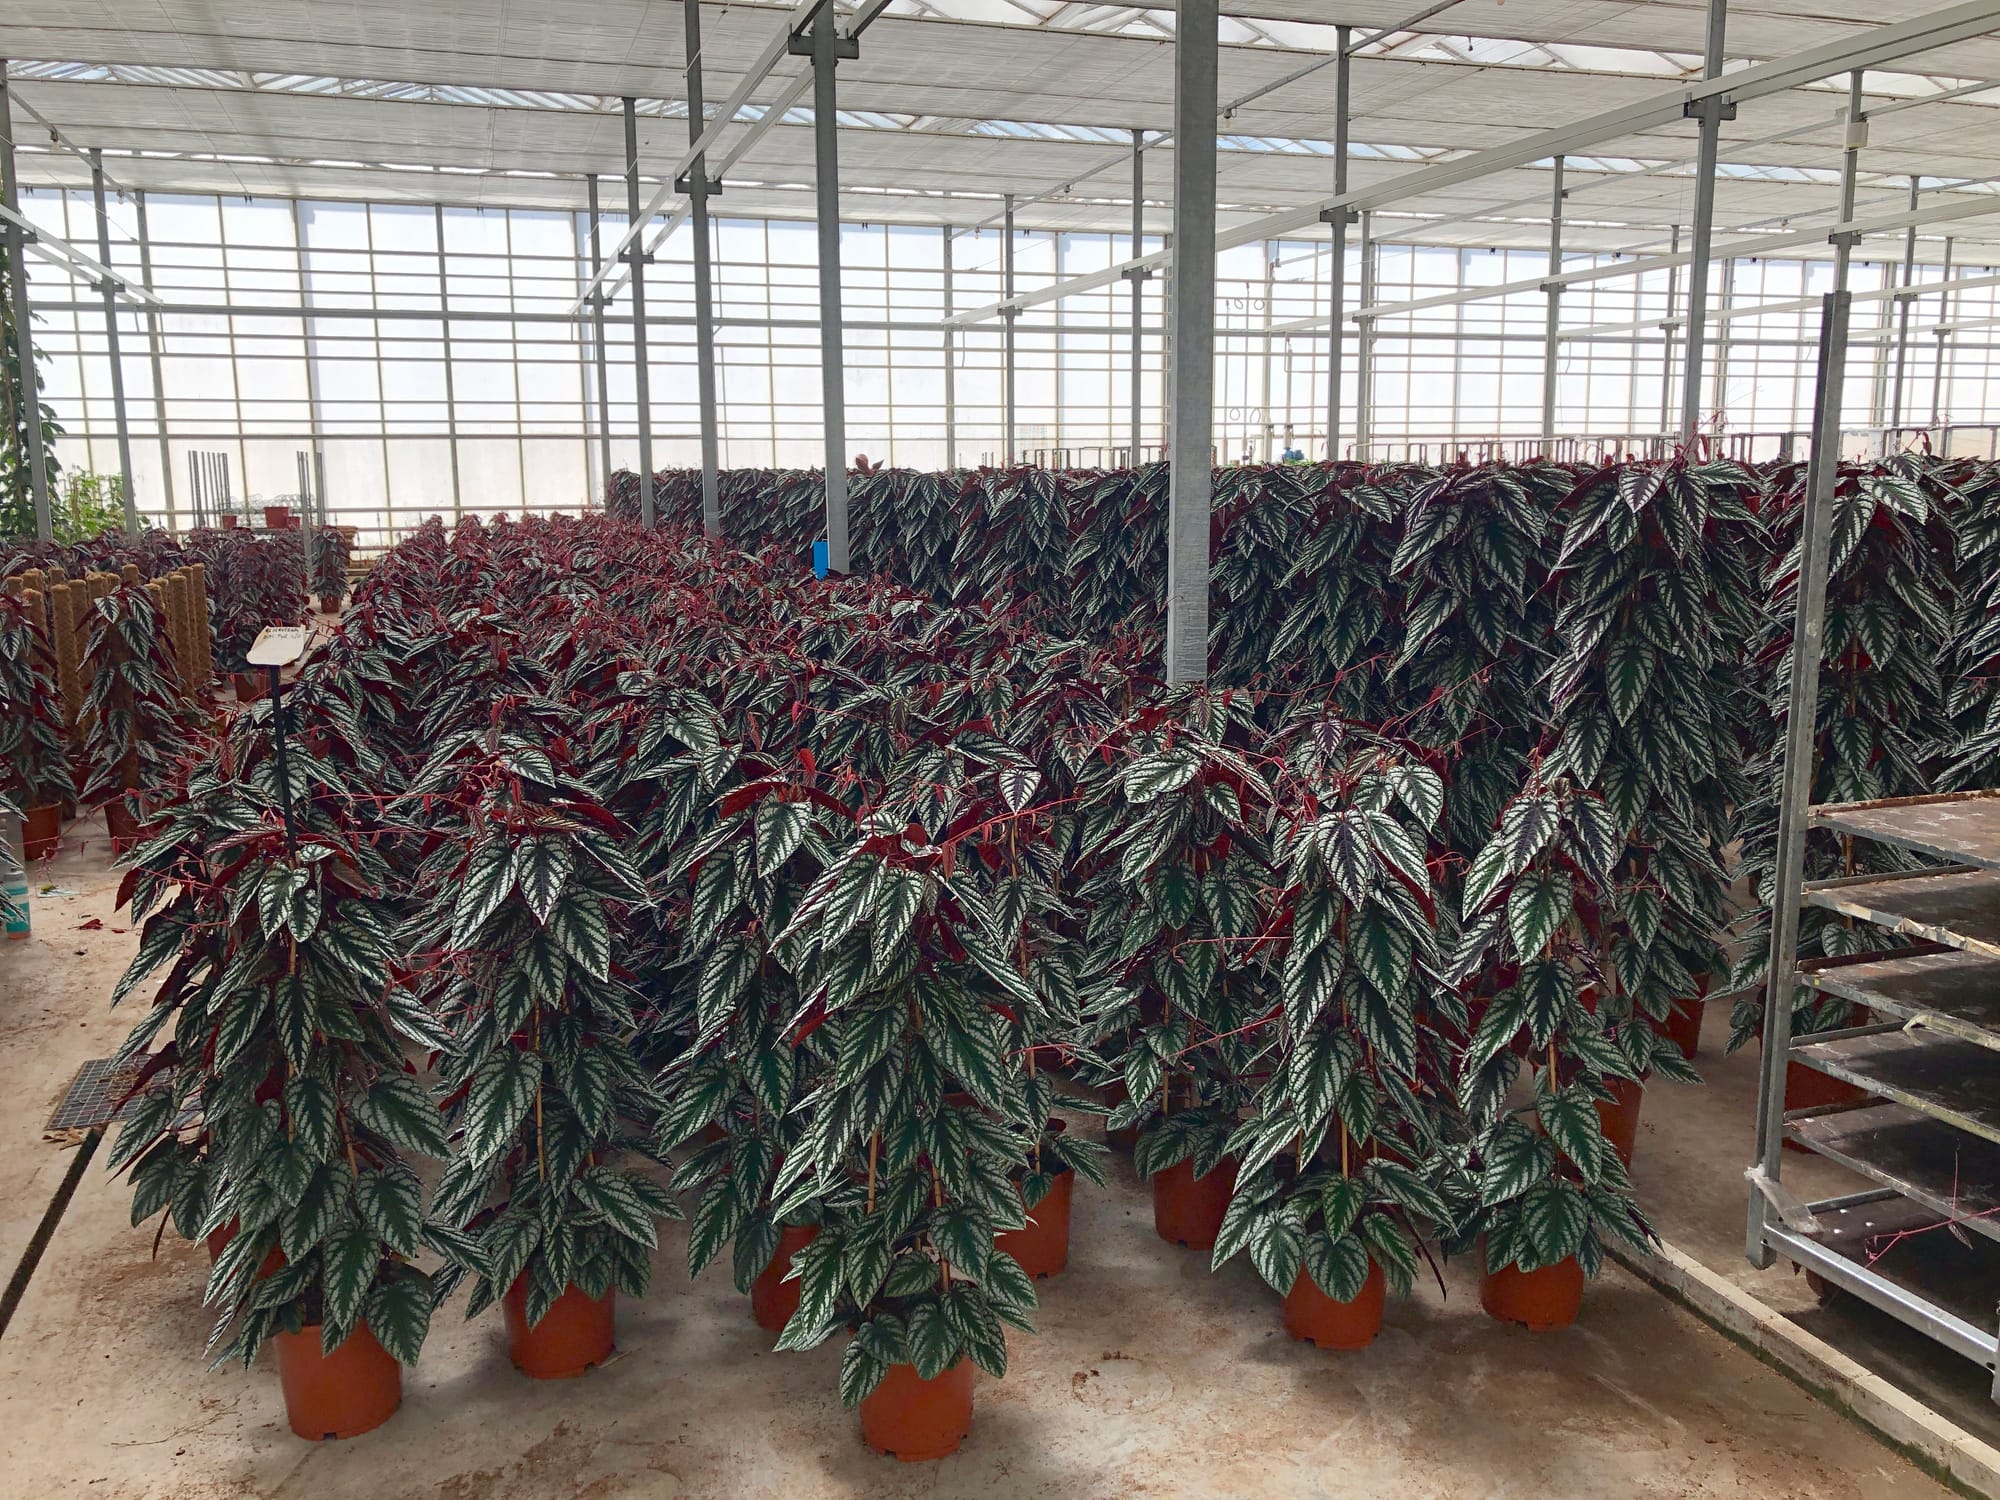 Hundreds of Cissus discolor in a Dutch nursery, ready to be dispatched to European garden centres.
Retail Locations
Rarely sold in garden centres, so have a look around on the internet for potential purchases.
Book a 1-to-1 Call with Joe Bagley
If you need further advice with your houseplants, book an advice call with ukhouseplants' friendly and expert writer today! This can be done via a video or audio call on most apps, including Facebook, FaceTime & Skype. A ten-minute call costs £5.99 (US$7), or £15.99 for thirty minutes. You can ask multiple questions, including queries on plants, pests, terrariums, repotting advice and anything in between. Please consider supporting this service to keep ukhouseplants thriving!